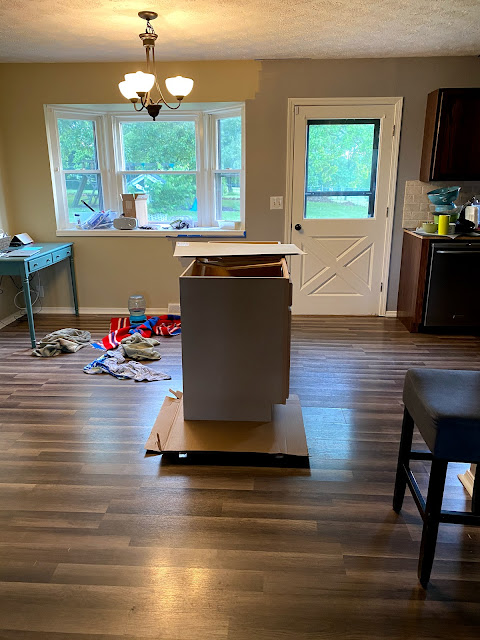
This isn't the first island we've built. The previous one in Colorado had more to it-- electrical, for one thing. This one is more basic, but also much more functional because it's bigger.
In Colorado, our island had storage but it also had our stove on it, so the space was not as functional. It had a butcher block top and quartz counter around the induction stovetop.
This time, we were looking for STORAGE underneath (we have no pantry) and SEATING. We eat, really, only at whatever bar top we have in our kitchens. Going on 4 houses now of eating exclusively at the bar top. We're those people, I guess. In Colorado, we ate almost exclusively on the couch, so...progress.
Two things: This island is not attached to the floor yet or trimmed along the bottom because we are replacing this kitchen floor this winter. We also wanted to make sure it was exactly where we wanted it before we, literally, nail it down.
While we bought the cupboards premade, Scott reinforced them with extra wood because premade cupboards bought at Home Depot aren't designed to be high-end or sturdy. This is the DIY of it all.
These pictures go backwards because this isn't a tutorial (LOL) and that's how Google Photos does things.
In Case You Missed it:


That looks amazing!!! So big! That's going to be a great landing place in your kitchen!
ReplyDeleteYou guys did an amazing job! It looks gorgeous, and I love that paint color!
ReplyDelete